
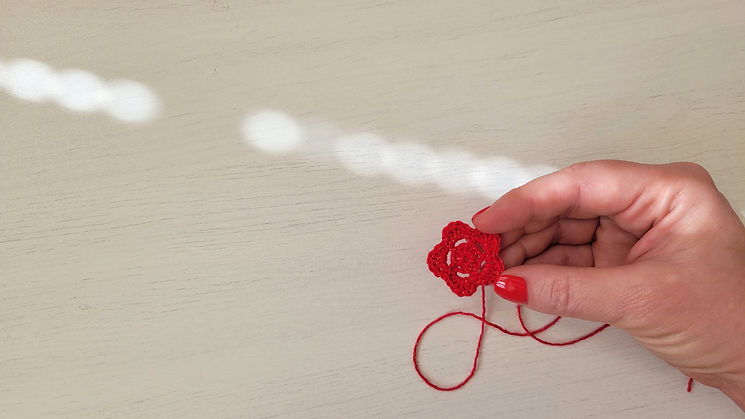
A Handmade Flower
to delight • to inspire • to adorn
There is something special about a handmade flower.
A little time, a little love, and a little attention,
turned into something small and tangible
to delight, inspire, adorn, or simply make you smile.
I wonder what you'll do with yours?
100 Little Flowers
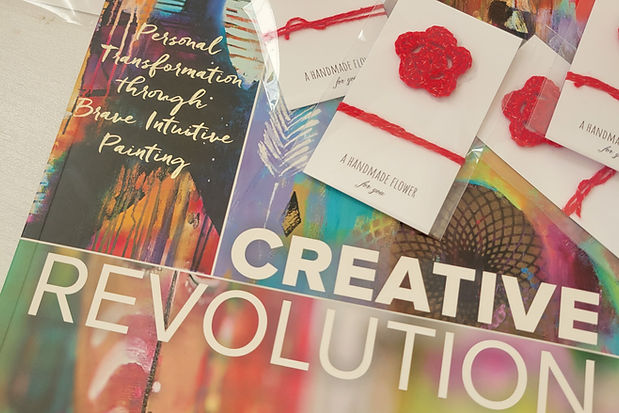
In the fall of 2026, I made 100 of these little crocheted flowers for artist Flora Bowley to share as gifts at some of her Creative Revolution gatherings.
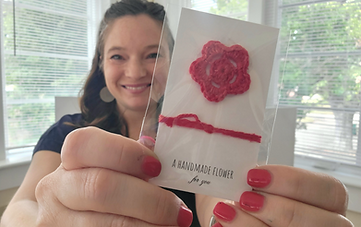
Each one was crocheted by hand and attached to a simple card with an invitation to delight, to inspire, to adorn. I loved the idea of making something small and joyful that could leave my hands and travel into the hands of people I might never meet.
And now they're out in the world! I wonder where they'll end up going from here.
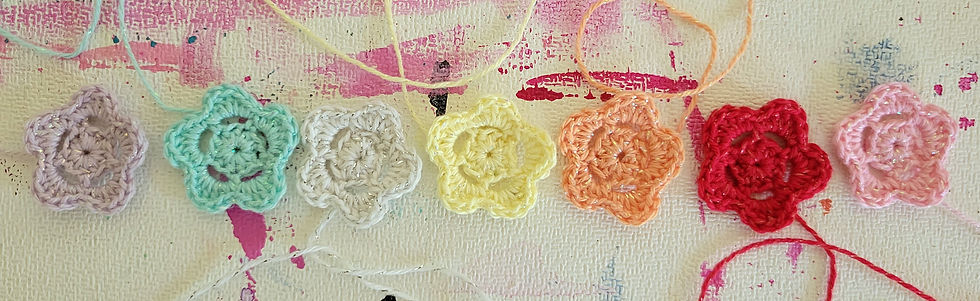
A flower can become a lot of things.
.jpg)
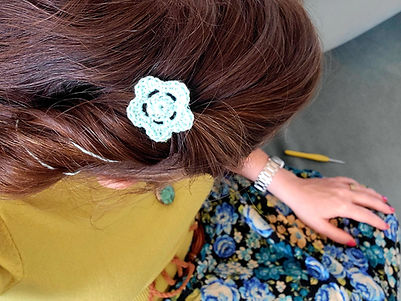
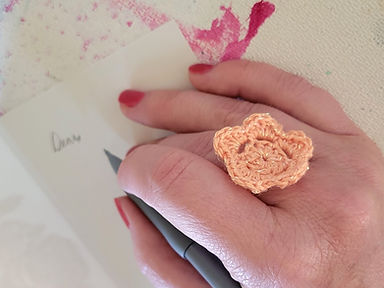
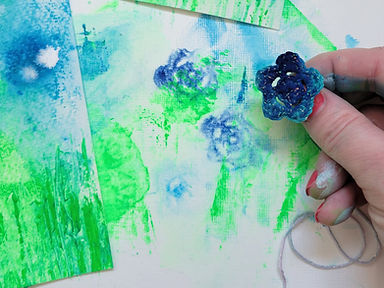
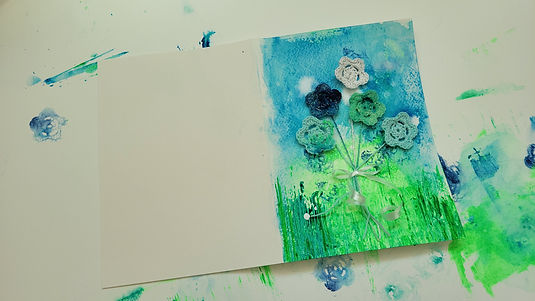
These are just a few ideas.
Wear it. Paint with it. Attach it to something. Give it to someone else. Make another flower. Take one in a completely unexpected direction!
There are no rules here. It's yours now.
I'd love to see where these little flowers travel and what they become. If you've found a creative use for one of your own, send me a photo and I may add it to the gallery.
So where did this little flower come from?
It has a bit of a history, actually.
One of my very first self-published crochet patterns was a double-layered version of this flower that I attached a button to and added to hair clips. There were a lot of little girls in my family at the time!
I’ve made lots of variations over the years, but when I started making these flowers for Flora’s Creative Revolution gatherings, I wanted something especially quick and simple.
So I flattened the design, only slightly modifying the first three rounds of the original pattern, and left a longer yarn tail that can be used to attach it to something else. The result is a little flower that’s easy to make and happy to become whatever your imagination dreams up.
I also wanted the flower to be flat enough to experiment with as a stamp or printing tool, because painting is my second love! (What is spinning and crocheting if not just another way of playing with color??)
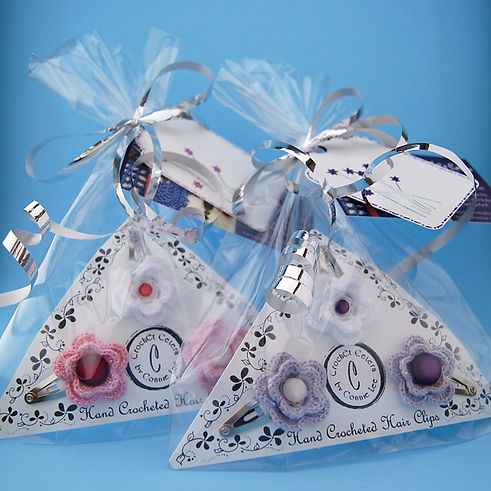
Wanna make your own flowers?
You can find my original pattern for the double-layered flowers on my blog or you can save it to your Ravelry library here.
But if you're craving the simpler pattern for paint play, or if you're new to crocheting, then grab some thread or yarn and a hook, and let's make a flower together right here!
Suggested Materials:
-
Cotton crochet thread or yarn
-
B/1 (2.25 mm) crochet hook or size appropriate for chosen thread/yarn
-
stitch marker (optional)
-
scissors
-
darning needle
Crochet Flower Instructions
To begin:
-
Leaving a long tail if desired and starting with a slip knot on your hook, chain 4.
-
Join with a slip stitch to the first chain to form a ring.
Tip: if you find the ring created by the chain 4 is too small to work into easily, try a chain 5! You can also begin with an adjustable ring.
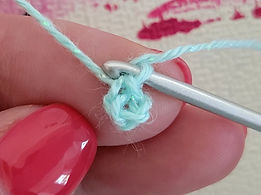
Round 1:
-
Chain 1 and work 10 half double crochet stitches into the center of the ring.
-
Join with a slip stitch to the top of the first half double crochet.
Tip: place a stitch marker under the top two loops of your first half double crochet stitch to make it easier to identify where to place your hook when joining at the end of the round.
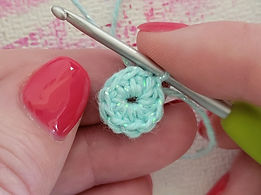
Round 2:
-
Without chaining, single crochet into the same stitch as your join.
-
*Chain 3, skip the next half double crochet stitch, and work 1 single crochet into the next stitch.
-
Repeat from the * 3 more times or until you've worked all the way around your circle to the last stitch.
-
Chain 3, skip the last stitch, and join with a slip stitch to the top of the first single crochet.
Tip: you should have 5 chain-3 spaces; this is where you will work the petals for your flower in the next round!
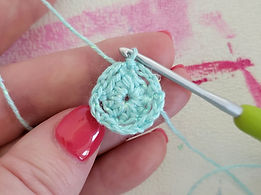
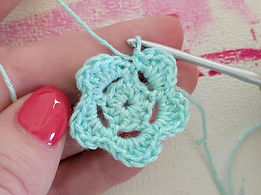
Round 3:
-
Slip stitch into the first chain-3 space.
-
*Work (1 single crochet, 1 half double crochet, 3 double crochet, 1 half double crochet, 1 single crochet) all into the same space.
-
Skip next single crochet and repeat from the * 4 more times or until you've worked all the way around your circle and have 5 petals.
-
Join with a slip stitch to the first stitch or use the invisible join to finish off, leaving a tail long enough to weave in (I recommend at least 4 inches/10 cm).
To finish:
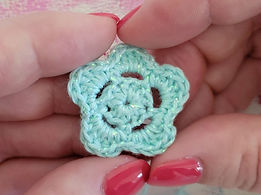
Be sure to securely weave in all ends before trimming any unwanted yarn or thread tails close to the flower.
The center/starting end can be woven under the stitches of the first row and cinched up to draw the center point closer/smaller if you'd like. You can also pull it up through the center of the flower to attach a bead!
And now it's yours.
However you use it, I hope this little flower brings you a moment of delight, a spark of curiosity, or the inspiration to make something of your own.
And if you do make one (or many!) I would really love to see pictures! Perhaps some day I'll be able to share a gallery full of little flowers from all around the world. Nothing would make me happier, in fact.
Cheers!
-Connie